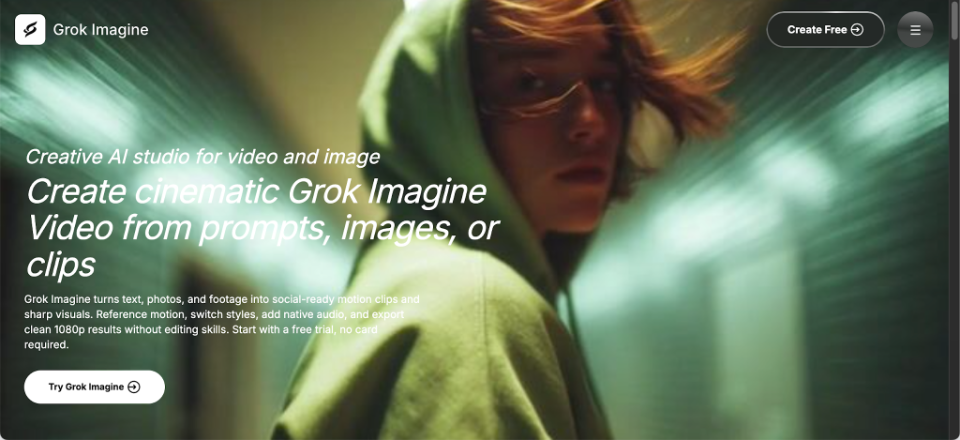
A strong image may stop someone for a second, but social platforms increasingly reward movement, sound, and fast visual storytelling. Small teams often have plenty of photos, illustrations, and campaign ideas, yet lack the time or equipment to turn them into polished clips. Grok Imagine offers a practical route from a prompt, image, or existing clip to short visual content with motion and audio. The real value, however, comes from using that capability with a clear plan rather than generating random scenes.
Why Static Content Often Reaches Its Limit
A product photo, event image, or illustrated character can work well in a website banner or standard post. The same asset may struggle in a fast-moving feed because nothing changes after the first glance. A small skincare brand, for example, might have a clean bottle photograph but no footage for a launch Reel. Hiring a crew for every short post is rarely practical.
AI video tools give that existing image another role. Instead of replacing the original design, motion can extend it. A slow camera move, shifting light, drifting steam, or subtle product movement can turn one approved visual into a short clip. The key is to preserve the message that already works while adding only the movement needed to hold attention.
Choose the Right Starting Material
The starting point should match the idea. Use a text prompt when the scene does not yet exist, such as a night-time city view for a technology announcement. Start from an image when composition, colour, character, or product placement already matters. Use an existing clip when the basic movement works but the visual treatment needs a different direction.
Before generating anything, write one sentence describing the result. A useful brief might read: “Turn this coffee photograph into a calm vertical morning clip with gentle steam and a slow push towards the cup.” This gives the tool a subject, mood, movement, and purpose. It also prevents the common mistake of asking for several unrelated changes in one attempt. Clear input makes the first result easier to judge and the next prompt easier to improve.
A Three-Step Process for Building the First Clip
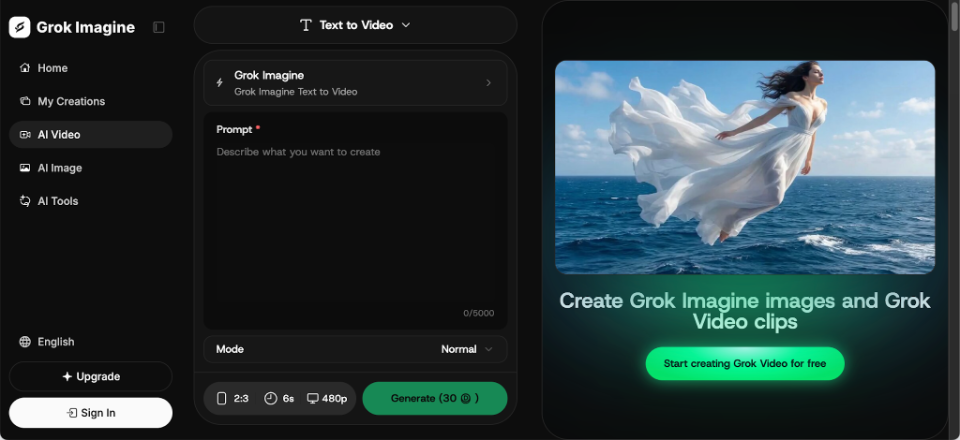
The platform’s image-to-video process is simple, but each stage benefits from a deliberate decision. Treat the first result as a visual draft rather than a finished advertisement.
- Select One Strong Image
Choose an image with a clear subject and enough space for movement. A centred product, portrait with visible shoulders, or landscape with foreground and background depth usually gives the motion somewhere to go. Avoid beginning with a crowded collage when the viewer should notice one item. For example, a local restaurant could start with a close-up of one plated dish instead of a full table containing ten competing objects.
- Describe the Motion Precisely
Use Grok Video to explain what should move and how the camera should behave. “Make it cinematic” is too broad. “Add a slow camera push, light steam rising from the dish, and a small highlight moving across the plate” gives clearer direction. Keep the first request controlled. Complex action, rapid camera movement, changing weather, and multiple characters in one prompt create more points of failure.
- Generate, Review, and Refine
After generating the clip, review the subject before the background. Check whether faces, products, logos, and important shapes remain believable. Next, inspect motion, framing, and pacing. Change one issue at a time in the next prompt. If the camera move works but the steam is too strong, keep the camera instruction and reduce only the steam. This makes refinement faster and helps your team understand which words affected the result.
Shape Motion for the Place It Will Appear
A clip should be designed for its message and destination, not simply for the most dramatic available effect.
- Direct the Viewer’s Attention
A slow push-in creates focus and suits a product reveal or emotional portrait. A sideways move can show the shape of a room, vehicle, or landscape. A wide orbit feels more dramatic, but it may distract from a simple offer. Write camera instructions like directions to a human operator: state the speed, direction, subject, and final point of attention.
- Give Sound a Clear Job
When a generated clip includes native audio, check whether the sound supports the scene. A food video should feel natural, while a rainy street scene should not contain audio that conflicts with the visuals. Keep space for any voice-over added later. Review the result once with sound and once muted, since many viewers first encounter social posts without audio.
- Frame for the Publishing Channel
A vertical post needs the subject placed away from interface buttons and captions. A wide website banner needs room for a headline. A square post often needs tighter composition. A fashion seller animating a model photo should check whether the clothing remains visible after cropping. Create the first version for the most important placement instead of assuming one frame will work everywhere.
Use a Practical Review Checklist Before Publishing
AI-generated motion deserves the same quality check as filmed footage. Start with identity and product accuracy. Look closely at hands, faces, text, packaging, logos, jewellery, and repeated patterns. Then check whether objects enter or leave the frame naturally. Watch for sudden shape changes, unstable edges, or background elements moving without a reason.
Next, assess communication. A viewer should understand the subject and mood within the opening seconds. Reject a clip when the effect looks impressive but the message remains unclear. Confirm that captions, disclosures, brand text, and calls to action are added accurately during your normal publishing process. Finally, ask someone who did not write the prompt to watch once on the intended device. Their first impression often reveals whether the visual is clear, correctly framed, and useful rather than merely attractive.
Start Small and Save What Works
The first project should be easy to judge and safe to repeat. Choose an approved product photo, event poster, landscape, or original illustration. Give it one job: attract attention before a product page, introduce a presentation, or add movement to a social post. Avoid beginning with a detailed demonstration or sensitive public message where a visual mistake could create confusion.
Set a simple success test. Decide whether the subject must remain accurate, whether the clip fits its intended placement, and whether viewers understand the message without explanation. Compare two or three controlled variations instead of producing dozens of unrelated scenes. This keeps feedback useful and prevents the team from losing track of why one version performs better than another.
Save the source image, motion instruction, intended format, and strongest result. Over time, these records become useful patterns for product reveals, event announcements, portrait explainers, and atmospheric backgrounds. New team members can begin from a tested structure while still changing the subject, setting, and style.
Conclusion
Turning a static asset into video works best when the team begins with a clear communication goal, chooses suitable source material, and controls one movement at a time. Careful camera direction, purposeful sound review, platform-aware framing, and a consistent quality check matter more than adding every possible effect. Choose one approved image this week, define one social use case, and test a focused version. A small, well-reviewed first clip can become the repeatable starting point for faster and more confident visual publishing.