
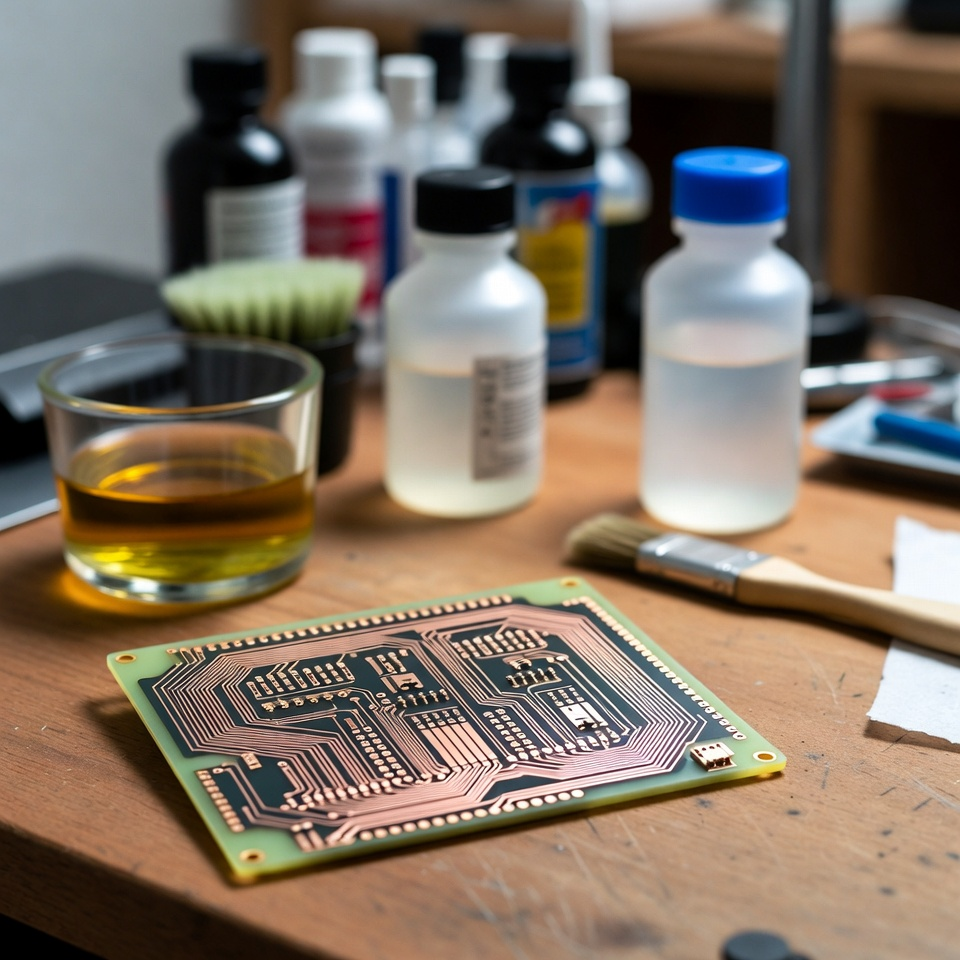
You finish the schematic on a Tuesday evening. A board house quote lands with a five-day lead time and a minimum order that feels wasteful. That is the moment a copper-clad blank and a bottle of vinegar start looking useful again.
The peroxide-and-vinegar route will never match a production line for precision or speed. It does, however, let you hold a working prototype before the weekend without ordering a full panel or handling the stronger etchants that once filled every hobby workshop.
Why the Kitchen Version Still Gets Used
Most of what you need is already sitting in a cupboard or costs very little.
● Copper-clad board, single- or double-sided
● White vinegar and 3 % hydrogen peroxide
● A teaspoon of ordinary table salt
● Laser printer plus any glossy paper
● Clothes iron, fine sandpaper, acetone
● Gloves, goggles, and a plastic tray
A small drill finishes the job later. Nothing exotic, nothing that needs special storage.
Surface Prep Decides Everything
Traces narrower than about 0.25 mm rarely survive the longer etch time and the imperfect toner transfer. Print the layout, iron it firmly onto clean copper, then soak and peel the paper. Any leftover toner gaps get touched up with a permanent marker.
The copper itself must shine. Light sanding followed by alcohol removes the thin oxide film that stops toner from sticking. Skip this step and the resist fails in patches, leaving open circuits that only appear after the board is rinsed.
Watching the Colour Change in the Tray
Equal parts vinegar and peroxide, one teaspoon of salt. Submerge the board and rock the tray every few minutes. The liquid slowly turns blue-green as copper dissolves. Expect thirty to sixty minutes for standard 1 oz copper.
From the factory floor the same chemistry happens inside controlled spray chambers, only faster and under tight temperature control. At home the eyes and a kitchen timer replace the sensors. Pull the board the moment the last unwanted copper disappears; leave it longer and the traces themselves start to thin.

Home Method Versus What Happens on a Production Line
| Point of comparison | Vinegar + peroxide | Traditional ferric chloride | Production fab line |
| Typical cycle time | 30–60 min | 10–20 min | Minutes under spray |
| Hazard level | Noticeably lower | Higher | Fully contained |
| Reliable minimum trace | ~0.25 mm | ~0.15 mm | 0.10 mm and finer |
| Surface sensitivity | Extremely high | High | Controlled by process |
| Waste handling | Must go to hazardous waste | Same | Managed on site |
| Practical use | Learning and single boards | Faster hobby work | Volume and fine pitch |
The failure modes stay the same: incomplete clears leave shorts, over-etching leaves opens. Production simply measures them earlier.
Cleaning Up and Learning the Hard Way
Acetone lifts the remaining toner. Check every track under good light, drill the holes, and the board is ready for parts. In real manufacturing we reject boards for the exact defects that appear most often at home—narrowed tracks and uneven copper removal. The fix is also the same: better surface prep and more frequent checking.
Many people discover that patient DIY PCB etching still produces usable results once the surface is properly cleaned and the bath is watched instead of left alone.
Warm the tray gently in a larger bowl of warm water if the room is cold. When the solution goes dark, discard it and mix a fresh batch. Never pour the used liquid down the drain; copper ions belong at a hazardous-waste collection point.
What Actually Stays with You
Home etching will not replace a board house for anything dense or high-volume. It does give you a working circuit the same day, using chemicals most kitchens already contain. Keep the traces realistic, clean the copper properly, and treat the waste with respect. After two or three practice boards the process becomes predictable, and the next idea moves from screen to soldered hardware without the wait.