
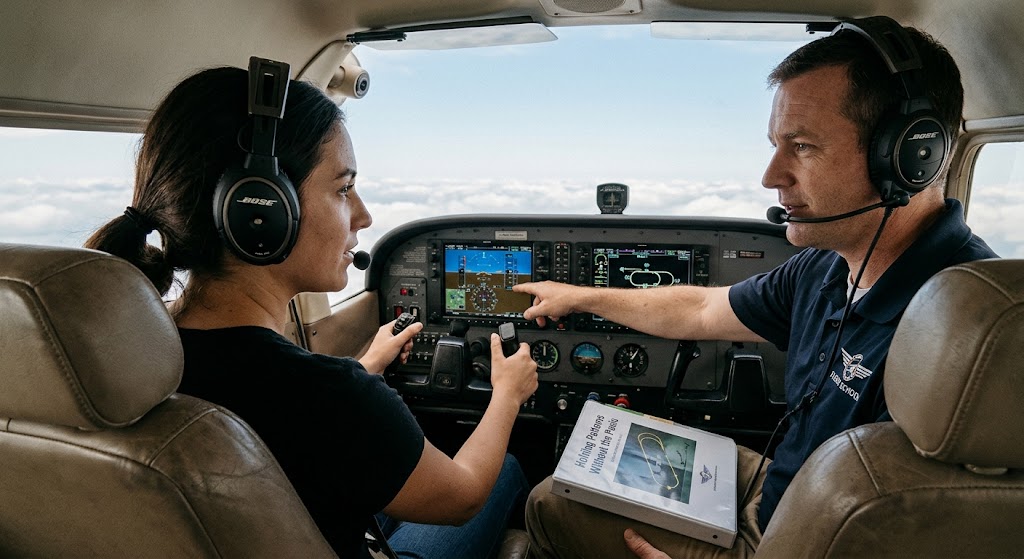
Few topics make instrument students sweat like the holding pattern. The racetrack shape looks simple on a chart, yet turning it into the right entry, heading and timing while talking to ATC is where many pilots stumble. If you want a clear reference to keep beside your charts, this step-by-step walkthrough of how to enter a holding pattern is a useful companion to the ideas below. The good news is that holds follow a small set of rules, and once you see the logic, the confusion fades.
Key Takeaways
- A hold has only three entry types: direct, parallel and teardrop. Your heading as you reach the fix decides which one you fly.
- Most hold errors come from poor preparation before the fix, not from poor stick-and-rudder skills.
- A simple visual sketch beats memorized rules when workload is high.
- Wind correction and timing adjustments matter more than a perfect entry.
Why It Matters
Holding patterns are not a checkride trick. Air traffic control uses them to manage spacing, absorb weather delays and sequence arrivals, so any pilot who flies in instrument conditions will eventually be asked to hold. An instrument rating examiner will expect you to enter and fly a hold accurately, and a professional pilot will do so routinely.
The pressure comes from the number of tasks stacked together. You must identify the fix, decide on the entry, configure the aircraft, slow to holding speed, and communicate, often within a minute or two. Pilots who struggle usually try to compute everything at the last second.
That is why a repeatable method matters. Aviation training programs at every level, from a first instrument lesson to advanced airline preparation, stress habits that reduce workload early. Holding is a perfect place to build those habits, because the payoff in situational awareness carries into every other phase of IFR flying.
The Anatomy of a Holding Pattern
A holding pattern is a predictable racetrack-shaped flight path that keeps an aircraft in a defined airspace around a fixed point. Every part of it has a name, and knowing the vocabulary makes ATC clearances far easier to decode.
The Core Components
- Holding fix: the navigation point where the pattern is anchored. It can be a VOR, an intersection, a GPS waypoint or an NDB.
- Inbound course: the track you fly toward the fix. It is the reference for everything else.
- Outbound leg: the leg flown away from the fix, parallel to the inbound course.
- Turn direction: right turns are standard. Left turns must be specified by ATC or the chart.
- Leg length: timed or defined by distance, such as a DME fix.
Standard timing is one minute inbound at or below 14,000 feet MSL, and one and a half minutes above 14,000 feet MSL. Turns are flown at a standard rate of three degrees per second, or with a bank angle that limits you to 30 degrees, whichever is lower.
Holding Speeds
Maximum holding speeds exist to keep the pattern inside protected airspace. In general, the limit is 200 knots indicated up to 6,000 feet MSL, 230 knots from 6,001 to 14,000 feet MSL, and 265 knots above 14,000 feet MSL. Some charted holds specify lower speeds, so always read the depiction carefully.
Pro Tip: Begin slowing down about three minutes before the fix. Arriving at holding speed with the aircraft already configured gives you time to think instead of react.
The Three Entry Types and How to Choose
The entry you fly depends on where your inbound heading places you relative to the holding pattern. Picture a line drawn through the fix at 70 degrees to the inbound course. That line divides the airspace into three sectors.
| Entry Type | Sector Size | Basic Maneuver |
| Direct | About 180 degrees | Cross the fix and turn to the outbound heading in the direction of the hold |
| Parallel | About 110 degrees | Cross the fix, fly the outbound heading parallel to the inbound course, then turn back to re-intercept |
| Teardrop | About 70 degrees | Cross the fix, fly a track offset from the outbound course, then turn to intercept inbound |
Direct Entry
A direct entry is the simplest because you arrive roughly in line with the pattern. You cross the fix and turn onto the outbound heading in the same direction as the holding turns. Most pilots find this one easy, which is why it is good to rely on it as a mental anchor.
Parallel Entry
A parallel entry places you on the non-holding side of the pattern. You fly the outbound heading alongside the inbound course, then turn toward the holding side to return to the fix. Many students forget that the turn back to the fix is made toward the holding side, which is what keeps the aircraft protected inside the airspace.
Teardrop Entry
The teardrop entry puts you on the holding side, within the narrow 70-degree sector. You cross the fix and fly a heading offset by 30 degrees from the outbound course, then turn in the direction of the pattern to intercept the inbound course. It looks complicated, but it is the smallest sector, so you will use it least often.
A Simple Mental Model
Use the heading indicator instead of memorizing sector angles. Follow this routine on every hold:
- Note the inbound course and the turn direction from the clearance.
- Sketch the racetrack on your kneeboard, with the fix and inbound course marked.
- Draw the 70-degree line through the fix.
- Place your arrival heading on the sketch and see which sector it falls in.
- Brief the entry out loud, including the first heading you will fly after the fix.
This takes less than 30 seconds and eliminates most entry mistakes.
Common Mistakes and How to Fix Them
The most common holding error is losing track of what the aircraft is doing relative to the fix. The cause is usually a late or incomplete plan rather than weak flying.
Mistake 1: Waiting Until the Fix to Decide
Deciding the entry at the fix leaves no time for configuration, wind estimates or radio calls. Instead, make the decision two to three minutes out. Once you know the entry, everything else becomes procedural.
Mistake 2: Ignoring Wind
A no-wind hold looks tidy on paper, but real holds are affected by crosswinds and tailwinds. If your inbound leg runs long or short, adjust the outbound leg timing in the next circuit. Correct the heading on the inbound turn, not only on the leg itself, to keep the pattern tight.
Mistake 3: Flying Too Fast
Overshooting turns is usually a speed problem. Holding at the correct airspeed keeps the turn radius small, makes timing predictable and protects you from leaving the protected airspace.
Mistake 4: Skipping the Report
Communication matters. Report entering the hold if requested, and keep ATC informed if you need to leave the pattern or if your fuel state changes. Clear radio work reflects good situational awareness and is a mark of safe habits.
Key Insight: A hold flown calmly and a few seconds off is better than a hold flown frantically but perfect on paper. Safety comes from staying ahead of the aircraft.
A Concrete Example: Holding at an Intersection
Imagine a student on an instrument training flight who is cleared to hold at an intersection northwest of the airport. The clearance says to hold on the 180-degree radial, right turns, with an expect-further-clearance time 20 minutes out. The student’s arrival heading is roughly southeast.
First, the student sketches the pattern: inbound course to the intersection, holding side to the right. Next, the 70-degree line splits the sectors, and the arrival heading falls in the parallel sector. The student briefs the plan: cross the fix, turn to the outbound heading parallel to the inbound course, fly one minute, then turn left toward the holding side to re-intercept.
On the first circuit, the inbound leg runs 15 seconds longer than planned because of a headwind component. The student shortens the next outbound leg by that amount, and the second inbound lands close to one minute. By the third circuit, the pattern is steady and the student has time to review the approach plate.
The lesson is that preparation, not instinct, produced the result. A sketch, a clear brief and one timing correction converted a complicated clearance into a manageable routine.
Actionable Takeaways
- Practice entries on the ground. Use a paper heading indicator or a simulator to run entries from every direction until the sectors feel obvious.
- Sketch every hold. A quick racetrack drawing is the fastest way to prevent direction mistakes.
- Plan the entry early. Decide two to three minutes before the fix and brief it aloud.
- Slow down in advance. Reach holding speed before the fix so the first turn is stable.
- Correct for wind with timing. Adjust outbound leg time after your first inbound leg, not after several circuits.
- Ask your instructor for scenario-based practice. Include unexpected clearances, left-turn holds and DME-defined legs.
Conclusion
Holding patterns reward pilots who prepare early and think visually. The entry types, speeds and timing rules are small in number, and they become second nature with deliberate practice. Treat every hold as a chance to build the habits that support safe, professional instrument flying, and the racetrack will stop feeling like a puzzle.
FAQ
What are the three types of holding pattern entries?
The three entries are direct, parallel and teardrop. Each one is chosen based on your heading as you approach the holding fix, relative to the inbound course. The 70-degree line through the fix divides the sectors and tells you which entry applies.
How long is each leg of a standard holding pattern?
The inbound leg is one minute at or below 14,000 feet MSL and one and a half minutes above that altitude. The outbound leg is adjusted to achieve that inbound time. Wind often requires you to lengthen or shorten the outbound leg.
Which direction are holding pattern turns?
Standard holding patterns use right turns. If the pattern requires left turns, ATC will state it in the clearance or the chart will show it. Always confirm the turn direction before you reach the fix.
What is the maximum speed in a holding pattern?
In general, the limit is 200 knots indicated up to 6,000 feet MSL, 230 knots from 6,001 to 14,000 feet MSL and 265 knots above 14,000 feet MSL. Some charted holds publish lower limits. Check the procedure and slow down early so the aircraft is stable when you reach the fix.
What should I do if I am unsure which entry to fly?
Choose the entry that best fits your heading and tell ATC if you need clarification. When a heading falls near a sector boundary, either of the neighboring entries will keep you protected. Safe, clear communication is always better than guessing silently.
How can I practice holding patterns without flying?
Use a flight simulator, a ground-based instrument trainer or a simple paper heading indicator to rehearse entries. Repeat the sketch, brief and entry routine from different headings. Regular repetition builds the pattern recognition you will rely on in the cockpit.